TanGen: Generating Rock Wall Holds with GANs
TanGen, short for tangible generation, is a system for generating 3D rock wall hold STL files that you can 3D print.
I trained a Generalized Adversarial Network (GAN) to generate rock wall hold voxels. We then turn these voxels into meshes and save those meshes as STL files to print the holds.
The real data used to train the GAN are open-source STL files of rock wall holds from Thingiverse.
To learn more, please visit our project GitHub repo and website!
Or, read more below!
TanGen (Tangible Rock Climbing Hold Generation)
Project Overview
TanGen, short for tangible (rock climbing hold) generation, is a system for generating 3D rock wall hold STL files that you can 3D print.
I trained a Generative Adversarial Network (GAN) to generate rock wall hold voxels. I then turn these voxels into meshes and save those meshes as STL files to print the holds.
The real data used to train the GAN are open-source STL files of rock wall holds from Thingiverse.
I collaborated with Gabriel Zak on this project. Below I describe my individual contributions and then our final results.
Table of Contents
- The Story
- Installation
- Usage Guide
- Technical Deep Dive
- Visualization
- Output Gallery
- What We Learned
- Citations
The story
Why this project?
I had been thinking a lot about how I could leverage my skills in machine learning to enhance recreational experiences for people.
Who is this for?
I imagine this project could be extended to take user data into account, such as preferred hold type, hand anatomy, and climbing goals. Given that extension, this project could create holds that are tailored to users. This could make climbing more accessible for people with hand motor impairments, texture sensitivities, or those who are beginners and would feel more supported via ergonomic holds.
Wall hit #1
Before I arrived at using voxels to represent the meshes, I went through many different data formats. I learned that it is really difficult to triangulate sparse vertices that were randomly generated. I also learned that height maps of sparse vertices are just as sparce and therefore do not help with triangulation. I implemented raycasting to make the data less sparse, but that also yielded poor results after triangulation.
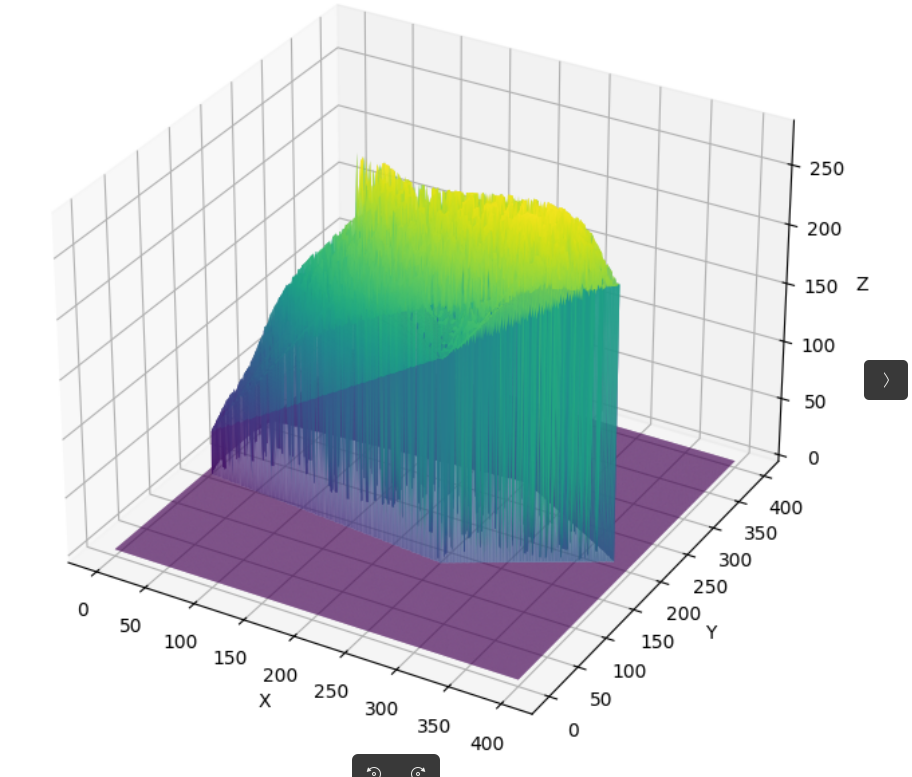
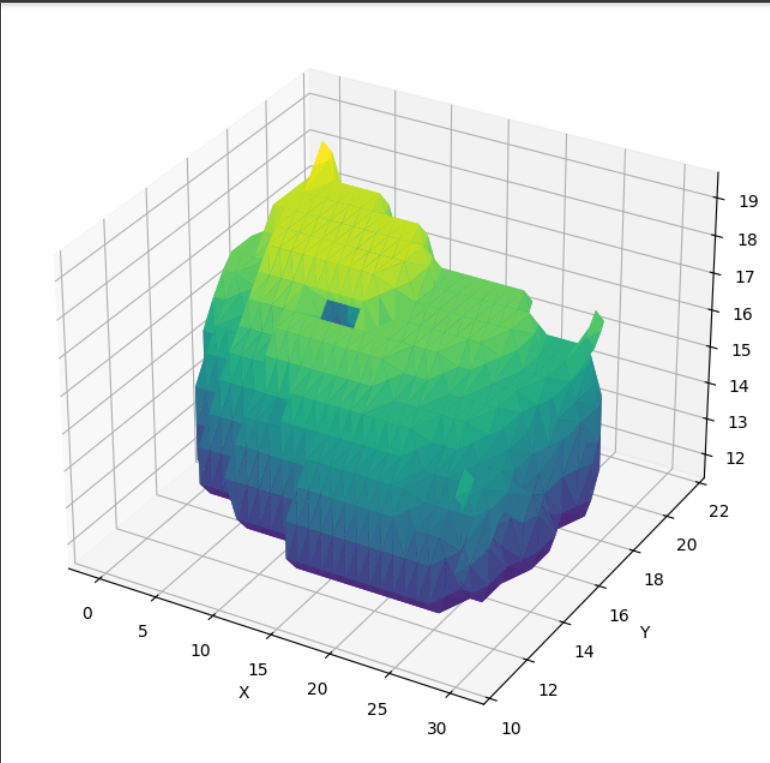
Here are some outputs from the other approaches I tried. This is a 3D height map of a dolphin I was using for initial experiments:
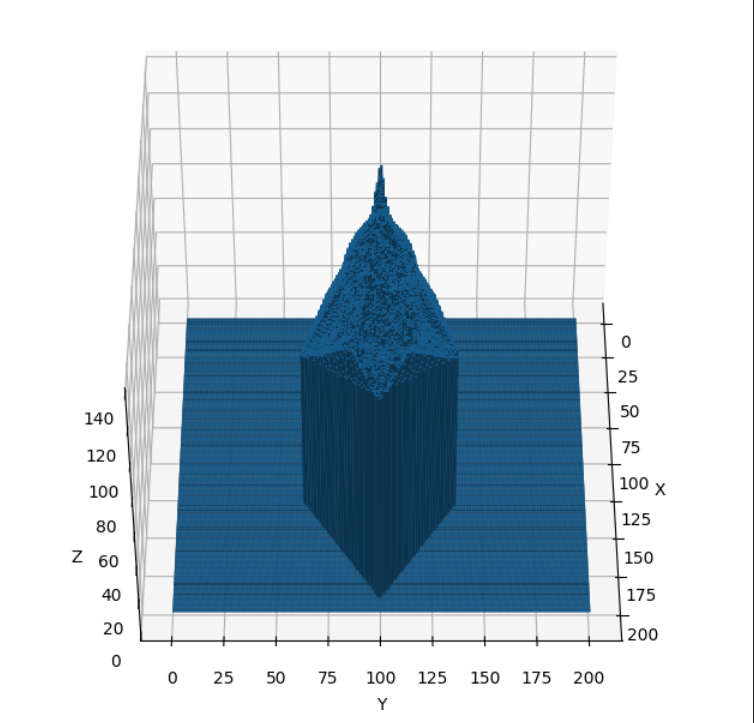
This is the STL of the height map. It did not slice well when I tried to print it:
How I overcame the wall
I played around with voxel representations in trimesh, and found that the voxels were continuous off-the-bat. I was inspired to try them after reading this MIT 3DGAN paper. Additionally, the marching cubes algorithm makes it easy to triangulate voxels. This made voxels the ideal data format for this project.
Wall hit #2
Ultimately, it was very difficult for the model to learn from the entire dataset of 220 holds. The network architecture was small, and we did not have enough data to prevent mode collapse. I also had very diverse data and not a good means of clustering the data in the model's latent space. This made it so that regardless of noise input, for a given model, it would produce the same hold every time.
How I overcame the wall
To overcome mode collapse, I implemented batch normalization, which helped make it so that different noise vectors produced slightly different holds after being passed through the GAN.
I also found out that using uni-modal data for the model, (ie. one kind of rock wall hold), made it easier to produce outputs that looked convincing.
The data was ordered in such a way that holds close to each other were of the same type, which means the data was uni-modal for a given model when we limited its access to data. We played around with giving the model 48, 32, 20, 10, and 3 real rock wall hold examples. All of these experiments enabled us to produce convincing holds! The models trained on 32 examples turned out best. Using fewer real training examples also made it easier to verify that the GAN generated something new!
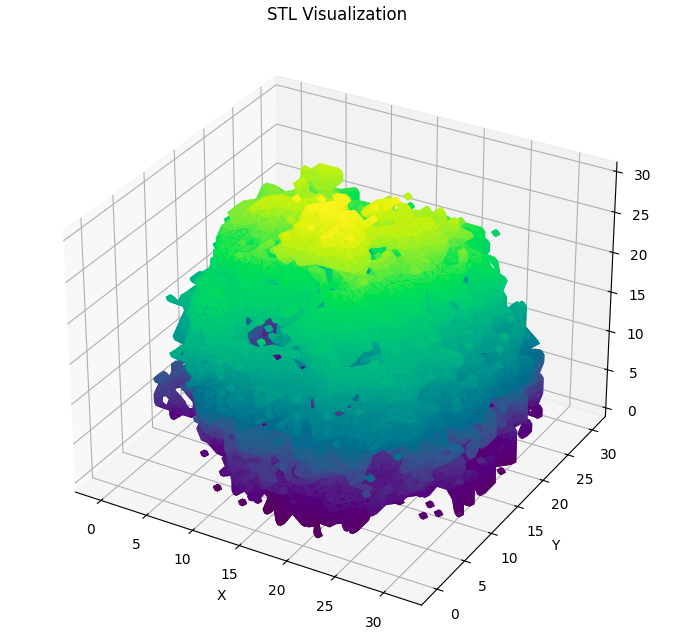
Here are some examples of the generated outputs of the model:
Results
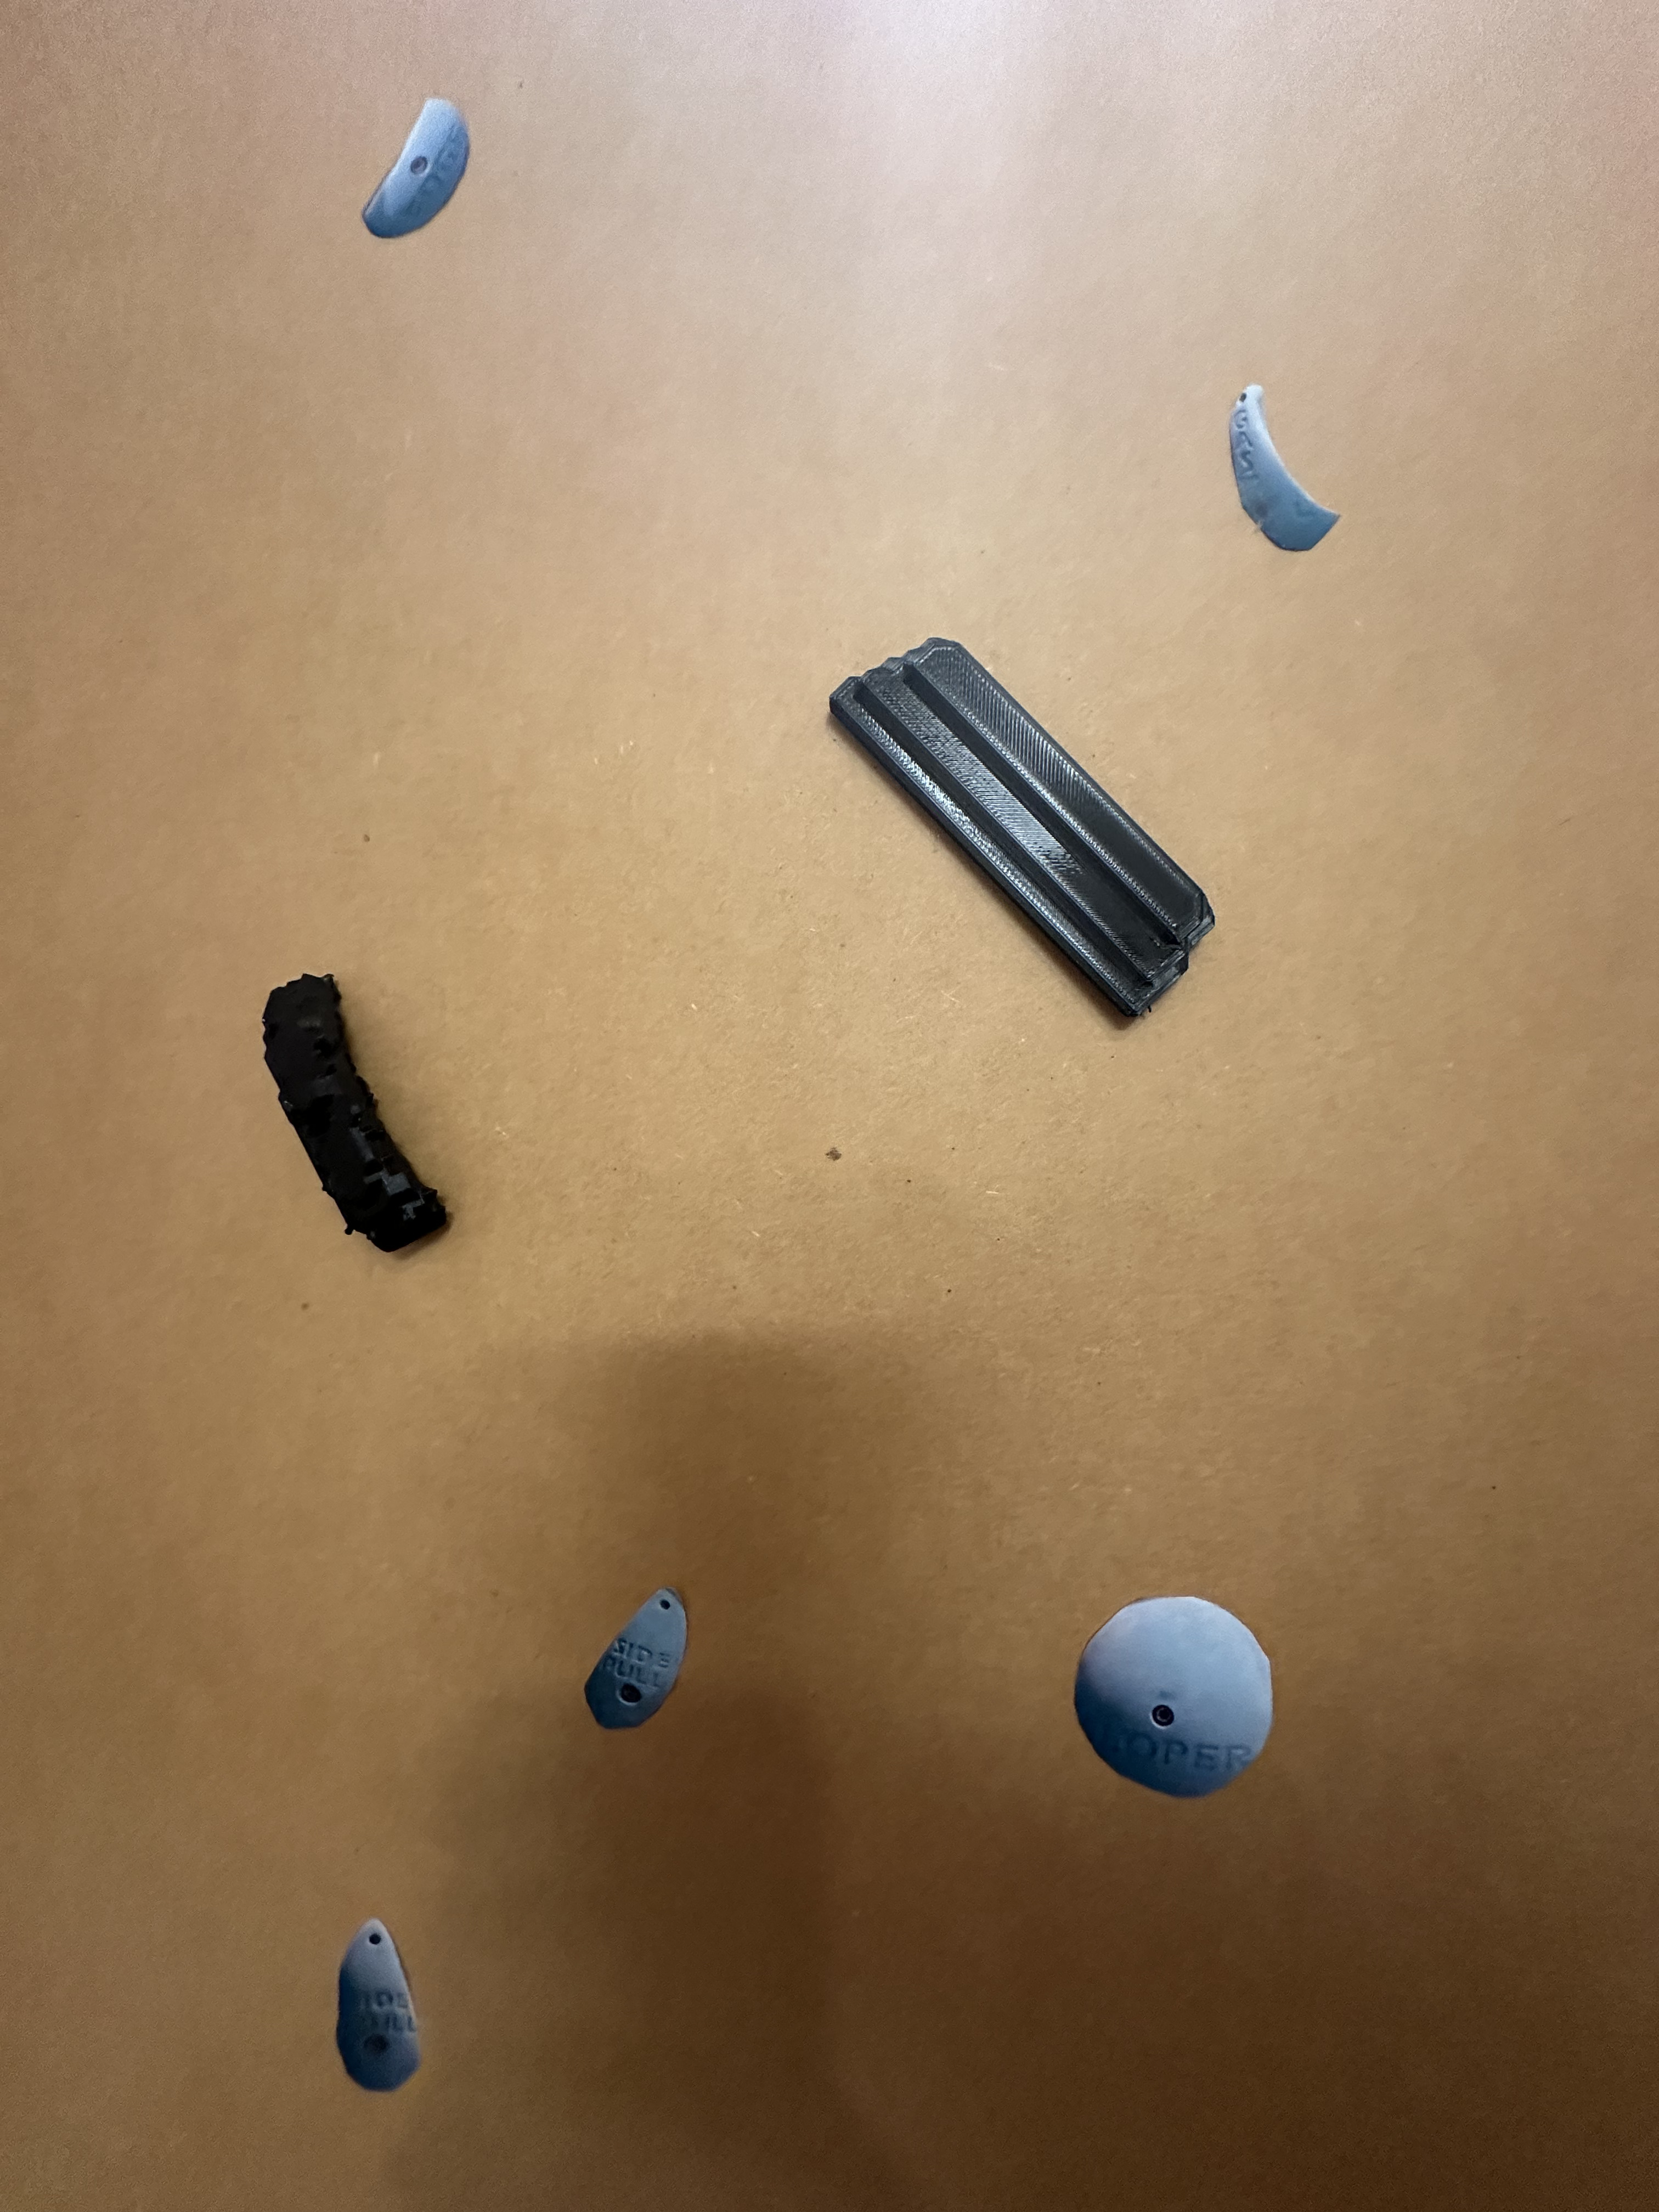
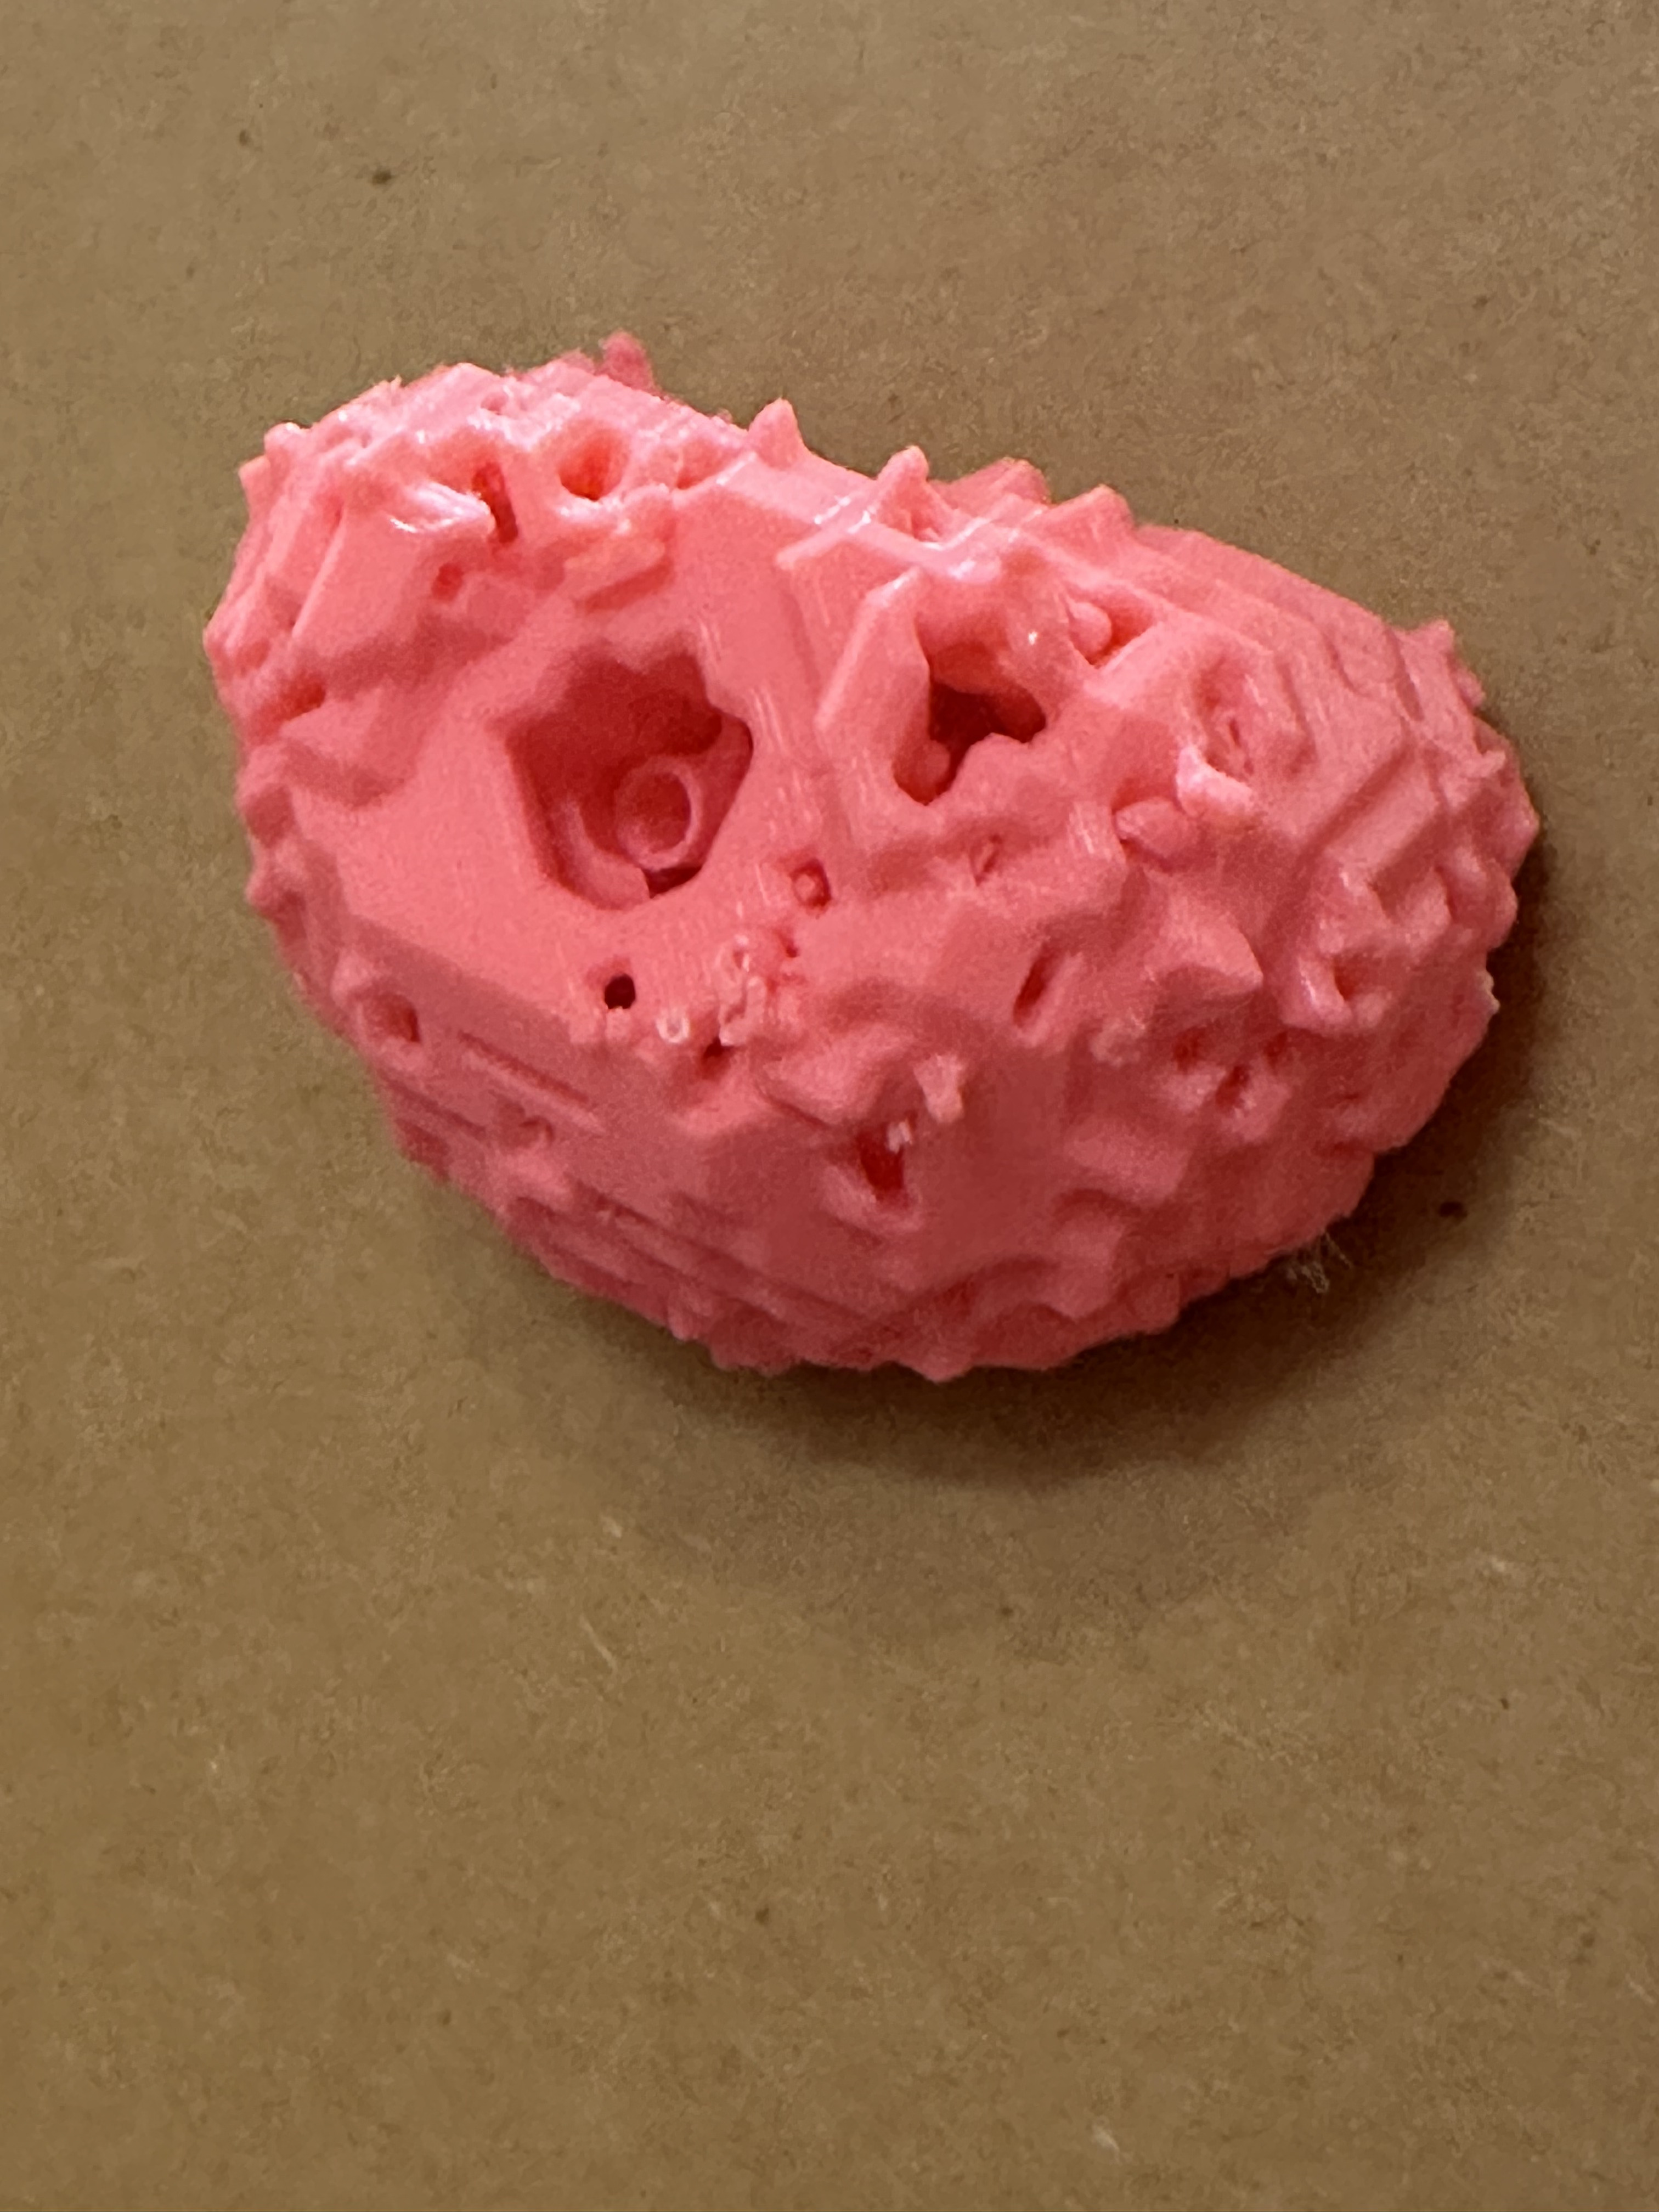
We 3D printed some of the holds we generated and made a cardboard/3D printed rock wall. Here are photos of the results!
Installation
Clone this repo to make local changes, or down the training script notebook and open it in Colab. Make sure to create a google drive (or local) folder of STLs for training. You can also use mine, which you can find here.
To run this locally, we used the jaxrl conda environment from the BRIDGE dataset repo. We found that it has the dependencies necessary to run this code.
We ran this locally on an Ubuntu 22.04 system with Python 3.10.13. For most of the project, however, we used Google Colab. The main dependency that Colab did not have was trimesh. In the notebook, we have a cell that makes installing trimesh easier.
Usage Guide
If you want to use your own data...
First, run our data pre-processing script to generate numpy files of STLs:
cd rock-Gan
python data_preprocessing.py
If you want to use our data...
Then you do not need to run the data pre-processing script. Simply change the path to the data directory in the training script notebook. You should be all set to train a GAN to make rock wall holds!
Technical Deep Dive
Data pre-processing
Pre-processing consists of converting a directory of STL files of rock wall holds into scaled voxels using Trimesh. We then save matrix representations of these voxels using numpy arrays. These numpy arrays are stored in separate .npy files. Our custom dataloader class retrieves the data from one npy file at a time.
Raw Mesh Data
Our raw mesh data is loaded using trimesh. We downloaded a series of rock wall hold STL files from Thingiverse to obtain our original mesh data. Then, we used Trimesh to load the meshes from the STLs, voxelize the meshes, and save a matrix representation from each voxel as a numpy array.
Our pre-processing code is as follows:
file_name_counter = 0

folderpath = 'unprocessed_data'
os.makedirs('processed_npys', exist_ok=True)
for filename in os.listdir(folderpath):
        file_path = os.path.join(folderpath, filename)
        if os.path.isfile(file_path):  # Check if it's a file
                mesh = trimesh.load(file_path)
                # .
                # .
                # ... Normalizing, scaling, storing code ...
Normalizing and Scaling
We load each mesh and normalize the vertices to be within a sphere with a radius of one, centered at (0, 0, 0). Then, we voxelize the mesh and scale it to be within a range of 32x32x32. We used the following pytorch3D tutorial as the initial inspiration for how to do this, but ended up using Trimesh instead.
Our normalizing and scaling code is as follows:
mesh = trimesh.load(file_path)

# Extract the faces and vertices
verts = mesh.vertices   # (V, 3) array of vertices
faces_idx = mesh.faces  # (F, 3) array of face indices

# # Center and normalize the mesh
center = mesh.center_mass
verts_centered = verts - center

scale = np.abs(verts_centered).max()
verts_normalized = verts/scale

# Remesh the normalized vertices
normalized_mesh = trimesh.Trimesh(vertices=verts_normalized, faces=faces_idx)
Saving voxelized data
For each real rock wall hold, we created an empty 32x32x32 matrix and then populated that matrix with the scaled voxel. We did this by padding the voxel to match the dimensions of the matrix and then setting the matrix equal to the voxel. Here is how we did it:
# Convert the voxel into a np array and pad it
voxel_matrix = voxel.matrix

# Cropping the matrix to make sure it's within 32x32x32
voxel_matrix = voxel_matrix[0:32, 0:32, 0:32]

reshaped_voxel = np.zeros((32, 32, 32))

if any(dim > 32 for dim in voxel_matrix.shape):
        print("ERROR: Voxel Exceeded 32x32x32. Skipping")
        continue

# Find the required voxel padding
x_padding = int(math.floor((32 - voxel_matrix.shape[0]) / 2))
y_padding = int(math.floor((32 - voxel_matrix.shape[1]) / 2))
z_padding = int(math.floor((32 - voxel_matrix.shape[2]) / 2))

# Put the voxel occupancy in its designated spot in the empty 3D Matrix
reshaped_voxel[x_padding: x_padding + voxel_matrix.shape[0], y_padding: y_padding + voxel_matrix.shape[1], z_padding: z_padding + voxel_matrix.shape[2]] = voxel_matrix
We save each voxel's matrix representation to a separate numpy file. Each npy file saves a single real rock wall hold voxel. Each numpy file is named with its corrresponding index in the data.
Here is how we save the data:
# Save reshaped voxel as a numpy array
np.save(f'processed_npys/{file_name_counter}.npy', reshaped_voxel)
Loading the data into a custom dataloader
To load this data, we wrote a custom dataloader. In the get_item function, we retrieve each data point using its index to load it from the file it is stored in.
Here is how we load it in the get_item function:
def __getitem__(self, idx):
        # print(self.data[idx].shape)
        idx = idx +
        data_pt = np.load(f"/content/drive/My Drive/TanGen Data/processed_npys/{idx}.npy")
        print(f"/content/drive/My Drive/TanGen Data/processed_npys/{idx}.npy")
        dp = torch.tensor(data_pt, dtype=torch.float32)
        return dp.unsqueeze(0)
Defining the model architecture
Our model architecture is heavily inspired by that of "Learning a Probabilistic Latent Space of Object Shapes via 3D Generative-Adversarial Modeling" (Wu et al.). We essentially have a purely convolutional generator mirrored by a purely convolutional discriminator.
The generator has 5 transpose 3D convolutional layers. They are all the same in the sense that all have kernel size 4, stride 2 and 1 layer of zero padding around the input. This essentially scales the voxel dimensions by a factor of 2 after each layer leading to cubic voxel tensor sizes of 1, 2, 4, 8, 16, and finally 32. The number of noise channels at the input is 5, with intermediate channel counts of 512, 256, 128, 64, and finally 1 at the output. The first four transpose convolutional layers are batch normalized for training stability and are all activated by Leaky ReLU. The final layer is activated by a tanh function.
The discriminator has 5 regular 3D convolutional layers. All have a kernel sizeof 4, stride 2, and 1 layer of zero padding around the inputs. This does the inverse of the generator and scales the inputs by a factor of 1/2. The discriminator takes cubic voxel tensors of size 32 at its input, and so the dimensions go from 32 to 16, 8, 4, 2, and finally 1 at the ouput allowing the discriminator to generate a binary classification between "real" (1) and "synthetic" (0). The intermediate channel counts are mostly mirrors of the generator going from 1 to 64, 128, 256, 512, and finally back to 1 for the binary classification. There was no batch normalization for the discriminator. The first four convolutional layers were activated by LeakyReLU and the final layer was activated by a sigmoid function.
Training loop
To train the generator and the discriminator, we feed the generator random noise. Then, we feed the output from the generator into the discriminator. We also feed the discriminator real data. The discriminator determines whether output is real or fake, and then the generator and discriminator loss functions point them in the direction of correctness. For the generator, that means consolidating the noise into a convincing rock wall hold, and for the discriminator, that means identifying if the data it recieves is fake or real. The discriminator puts pressure on the generator to create more convincing holds so the generator can trick it. The two networks are in competition with each other.
By the end of training, when we feed the generator random noise, the output is a convincing rock wall hold! Whether these holds are printable varies based on the quality and continuity of the hold. Ideally, the generator learns to produce continuous holds because the training data is continuous.
Post-processing
In post processing, we take the output of the generator, turn it into a trimesh voxel, and then use the marching cubes algorithm to convert it into a mesh. This mesh is then saved in an STL file that we can use to 3D print the ge`nerated rock wall holds.
Here is the code we use to do that:
fake = netG(noise).squeeze()
threshold = 0.7 # We adjust this depending on whether or not it helps make the holds easier to print
binary_fake = (fake > threshold).cpu().numpy().astype(bool)
print("Voxel grid unique values:", np.unique(binary_fake))
print(fake.shape)
new_voxel = trimesh.voxel.base.VoxelGrid(binary_fake)
print(f"voxel: {new_voxel.shape}")
mc = new_voxel.marching_cubes
# Save the remeshed surface as an STL file
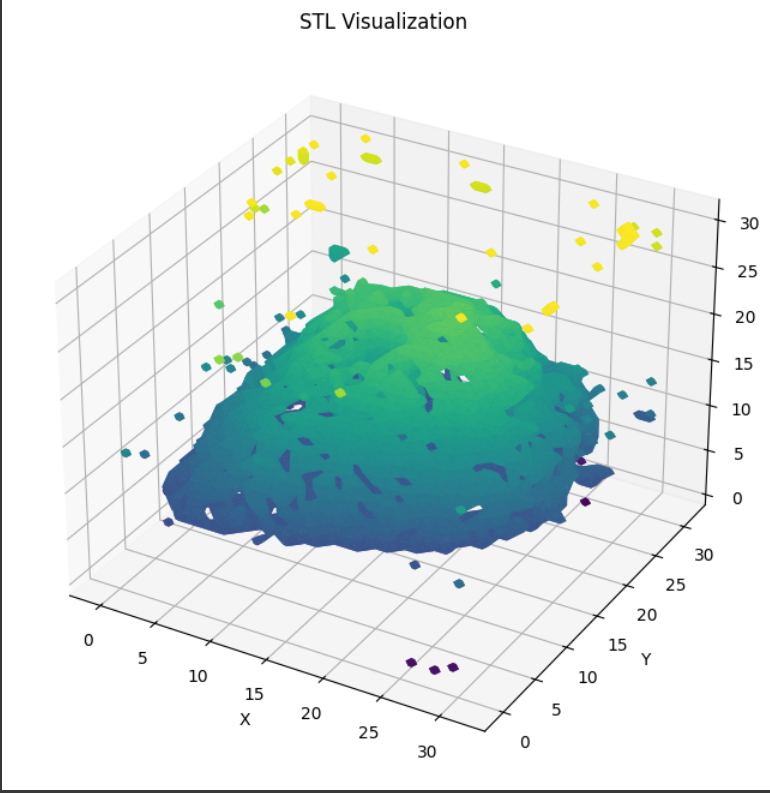
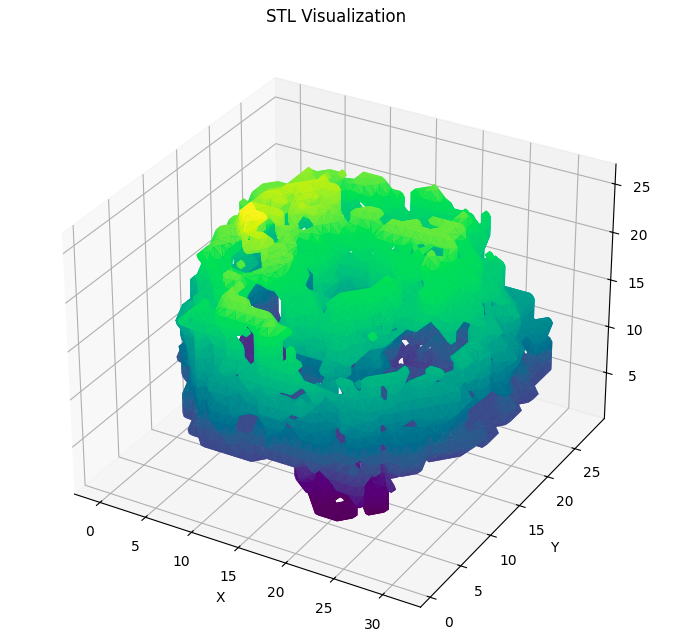
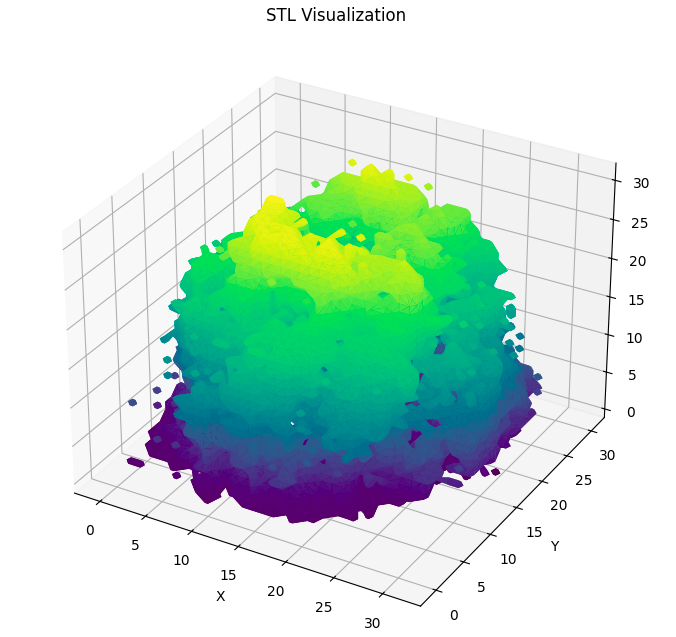
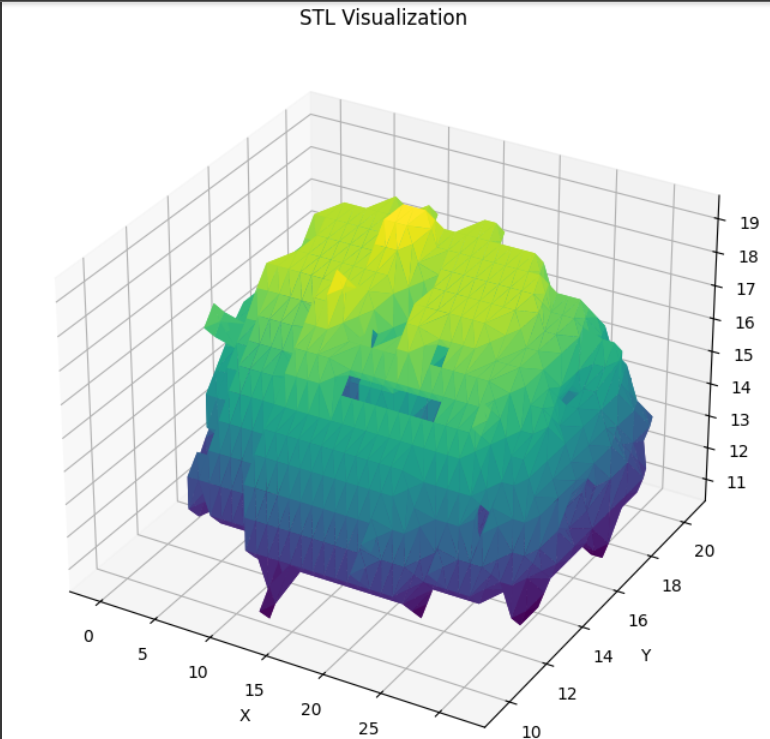
mc.export("test5.stl")Visualization
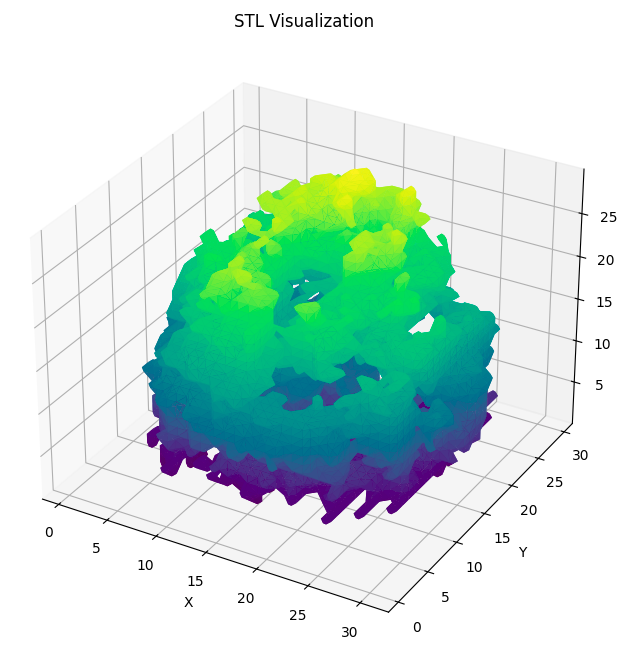
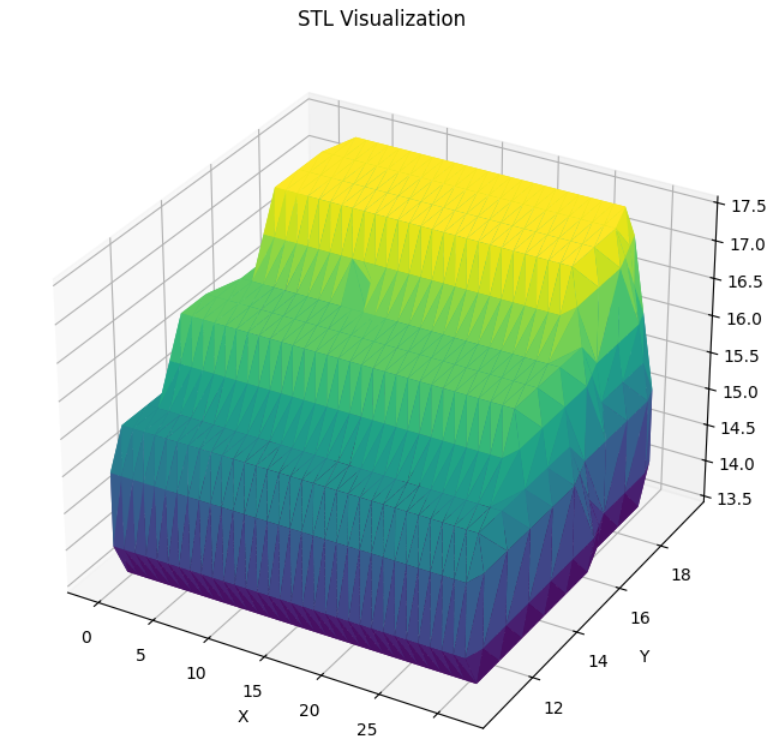
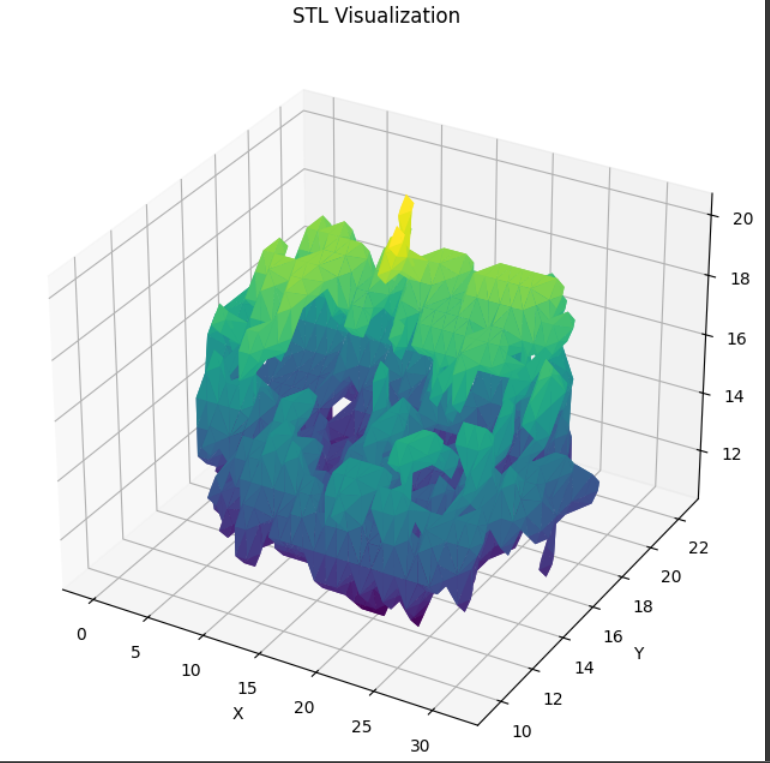
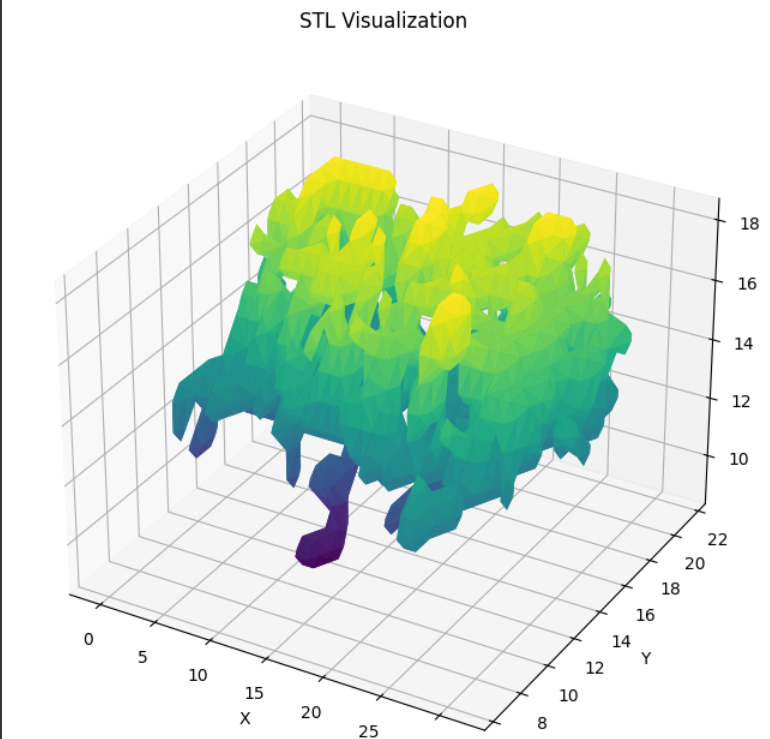
We visualize the output using matplotlib.
Here are some sample outputs! (Different from the ones above)

What we learned
One thing I learned is to be more organized about our experiments, automate them, and log the results. I think that would have spared us in some situations where we could not remember what we tried.
Works Cited
MIT 3D GAN Paper: http://3dgan.csail.mit.edu/
JaxRL Conda Environment: https://github.com/rail-berkeley/bridge_data_v2
PyTorch 3D Tutorial: https://colab.research.google.com/github/facebookresearch/pytorch3d/blob/stable/docs/tutorials/deform_source_mesh_to_target_mesh.ipynb
PyTorch DCGAN Tutorial: https://pytorch.org/tutorials/beginner/dcgan_faces_tutorial.html